

How to Move MBOX Emails to Microsoft 365 Account?
Summary: Migrating mailbox data to Office 365 can be a complex task for many users, especially when dealing with MBOX files. This guide explains a clear step-by-step approach to help you import MBOX emails into an Office 365 account with ease. Read on to understand why this migration is needed and how the process can be carried out effectively.
Switching from a desktop email client to a cloud-based platform like Microsoft 365 offers many advantages, but one major limitation is that it does not natively support MBOX files. This means there is no direct option available in Office 365 to upload or import MBOX data.
Whether you are handling a single mailbox file or multiple MBOX folders, maintaining data accuracy and structure is essential during migration. In this article, we simplify the entire process of transferring MBOX data into a Microsoft 365 mailbox. We also discuss the key reasons behind this migration and the different methods available to complete it successfully.
Why Move MBOX Data to Office 365?
There are several advantages to transferring MBOX mailbox data into Microsoft 365, depending on personal or business needs:
· Enhanced protection through advanced Microsoft 365 security features.
· Access to integrated productivity tools such as Teams, OneDrive, SharePoint, Word, Excel, and PowerPoint.
· Simplified collaboration through shared mailboxes and cloud-based communication.
· Ability to access emails from multiple devices including desktops, mobiles, and tablets.
· Multi-language support for global users and organizations.
· Scalable storage options that can be upgraded as per requirements.
These benefits make Microsoft 365 a preferred choice for modern email management. Next, we will explore the step-by-step methods to complete the MBOX to Office 365 migration process.
Manual Approach to Transfer MBOX Data into Office 365 Mailbox
There is no direct option available to manually import MBOX files into an Office 365 account. However, users can still achieve this migration by using an email client such as Mozilla Thunderbird that supports MBOX files and allows configuration with Microsoft 365.
Start by launching Thunderbird and adding your Office 365 account.
Go to Settings > Account Settings > New Account, then enter your Microsoft 365 login credentials.
Thunderbird will automatically attempt to configure the account.
Once prompted, confirm the details, re-enter the password if required, and complete the sign-in process.
After approval, your Office 365 mailbox will become accessible within Thunderbird.
Next, you need to bring the MBOX data into the same Thunderbird profile.
Use the import option within the application and select Import from a file, then choose the option to import a backup profile or MBOX data file (preferably in ZIP format if required by the tool). After successful import, the MBOX mailbox will appear in Thunderbird.
Finally, locate the imported mailbox, right-click on the required folders or emails, and move them into your configured Office 365 account. This transfers the selected MBOX data into Microsoft 365 via Thunderbird.
Key Limitations of the Manual Method
Although the manual approach can help transfer MBOX data to Office 365, it comes with several drawbacks that users should be aware of:
· Only one MBOX file can be processed at a time.
· There are no filtering options to migrate selected emails selectively.
· Corrupted or damaged MBOX files cannot be imported using this method.
Because of these restrictions, manual migration may not be suitable for large or complex mailboxes.
Direct Method to Import MBOX to Office 365 with Attachments
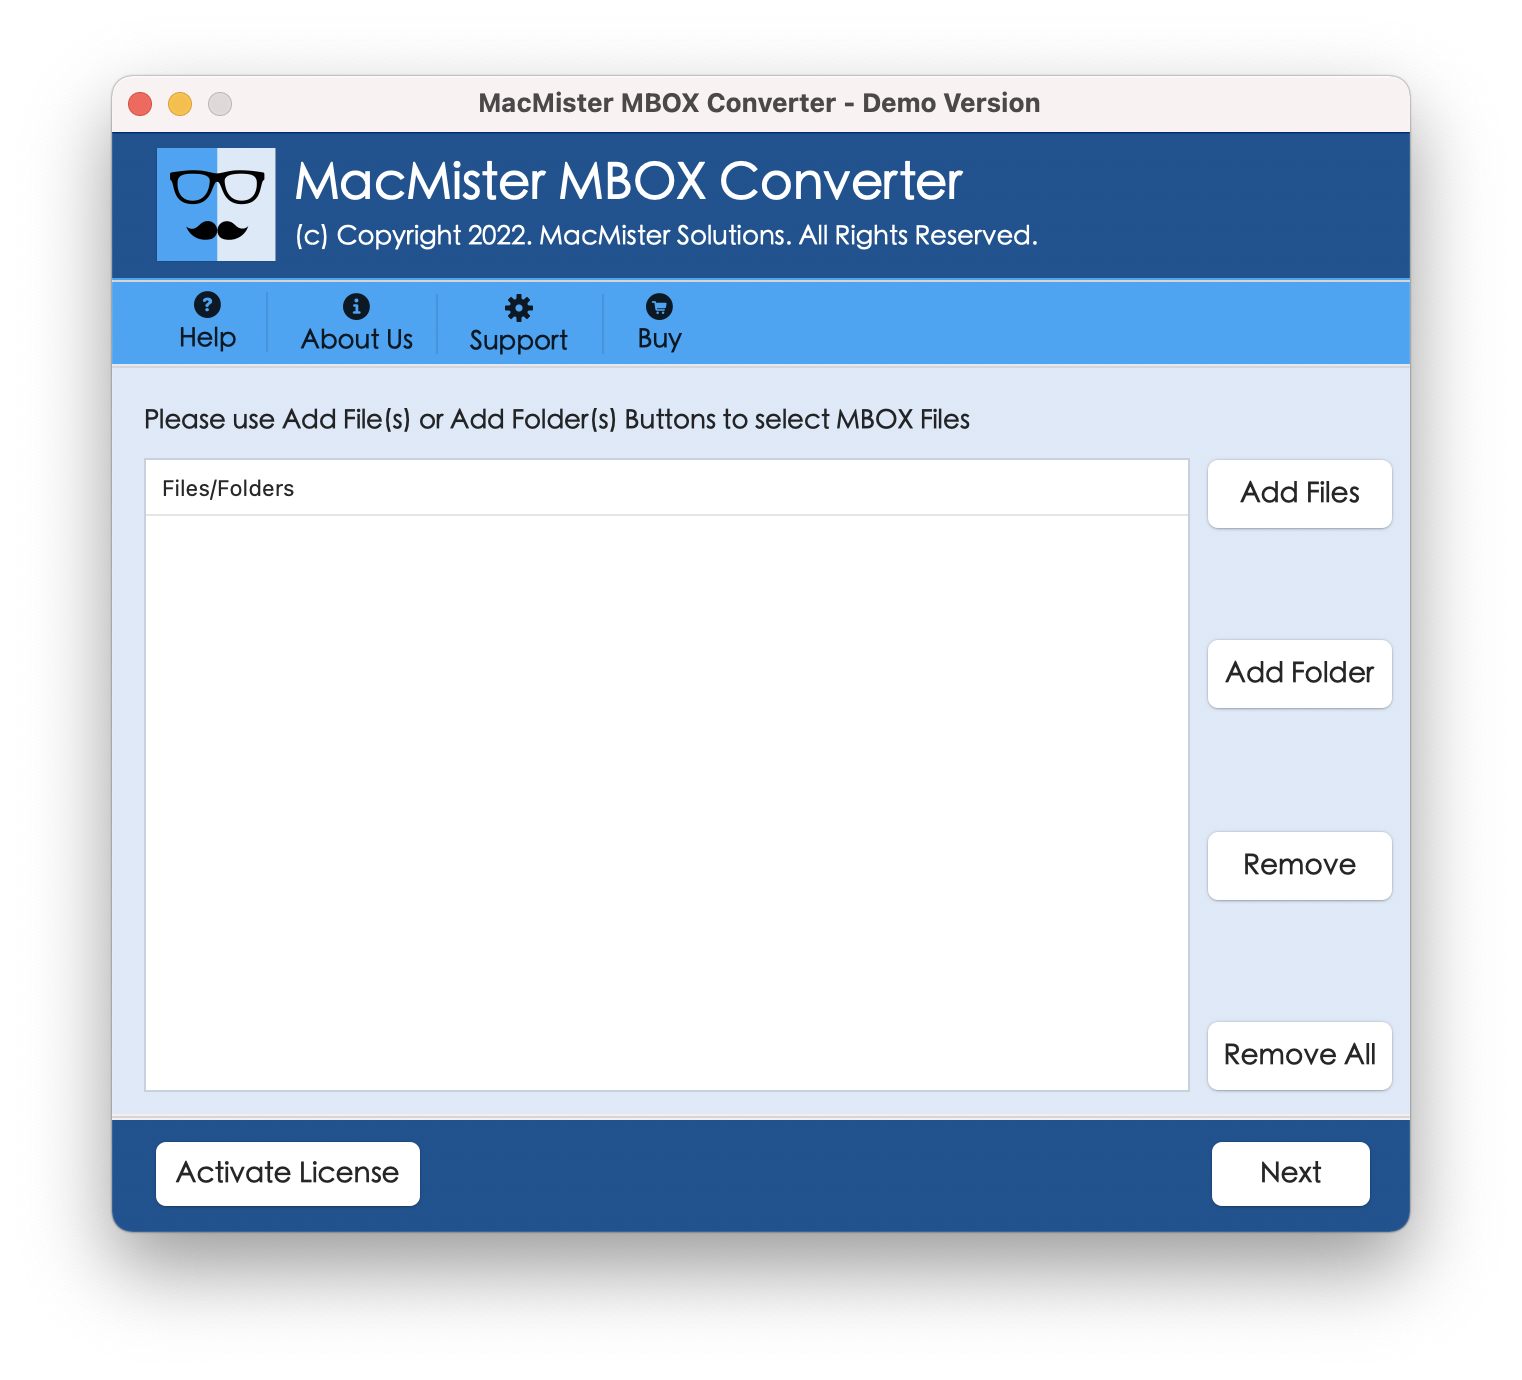
A faster and more efficient alternative is to use a professional tool such as the MacMister MBOX Converter for Mac. This solution is designed to migrate MBOX files directly into an Office 365 account while preserving attachments and complete mailbox data.
The tool simplifies the entire process and allows users to transfer MBOX emails to Microsoft 365 within a short time. It ensures that no data is lost during migration and maintains the original structure of emails, including attachments.
The software is compatible with all Mac operating systems and is easy to install and use. Users can also try the free demo version to explore its features before performing full migration.
Conclusion
In this guide, we have explained different approaches that help users migrate MBOX emails into an Office 365 account, including both manual techniques and professional solutions. By carefully following the steps provided, users can complete the migration process without major difficulties. However, manual methods often require multiple email clients and additional configurations, which can be time-consuming and complex for some users. To avoid these challenges, many users prefer a dedicated tool for a smoother experience.
A professional solution like the MacMister MBOX to Office 365 Converter allows users to transfer MBOX data to Office 365 more efficiently and in bulk. To unlock full functionality and migrate unlimited emails, users can upgrade to the licensed version available on the official website.